
How to Document your Azure environments with Azure Resource Inventory
Years ago I explained how Azure environments can be documented fast and easy with Cloudockit. I used this tool with many customers to automate cloud documentation, saving both time and effort. Although it’s reasonably priced for its capabilities, sometimes cost can still be a concern. Luckily, Microsoft has Azure Resource Inventory (ARI), a powerful Powershell module that can document your Azure environments into an Excel sheet. It’s completely free and can also be set up to run automatically. Let’s look into it and check what it is capable of.
I ran local tests in MacOS Sequoia 15.3 with PowerShell 7.5.0 and in Windows 11 Pro 24H2 with PowerShell 7.5.0.
Installation and setting it up
Since Azure Resource Inventory is a PowerShell module, it is easy to install via the command line. You don’t need to download any installers, just run a command.

And just like that, Azure Resource Inventory is installed. No need to do anything else. Now, let’s get on trying it.
First attempt
As installation went successfully I thought that getting documentation from my environment would also go with ease. However, that was not the case. After running the command ‘Invoke-ARI’ I logged into Azure but immediately received some warnings.
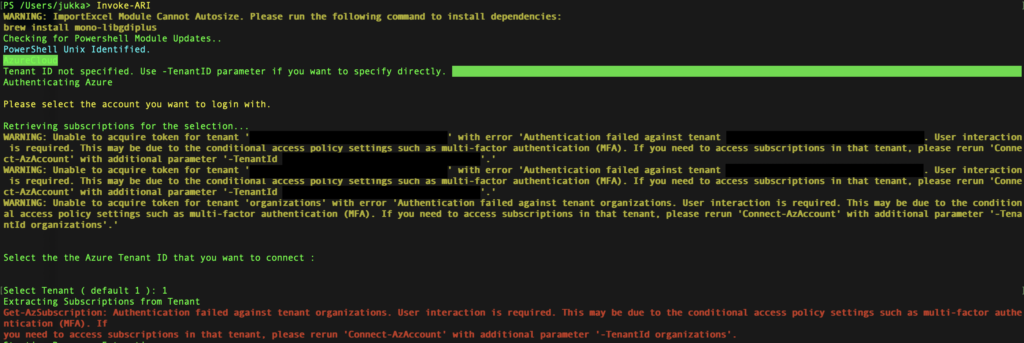
I started to wonder what I had done wrong. Advice (as shown in screenshot) was to rerun ‘Connect-AzAccount’ with additional parameter ‘-TenantId organizations’. I tried this but no luck and my Excel sheet still showed up empty.
Second attempt
I thought that maybe old and wise saying “Have you tried turning it on and off again?” would work and indeed, opening a new Terminal tab with Powershell did the trick. After running ‘Invoke-ARI’ I was greeted with much nicer output.
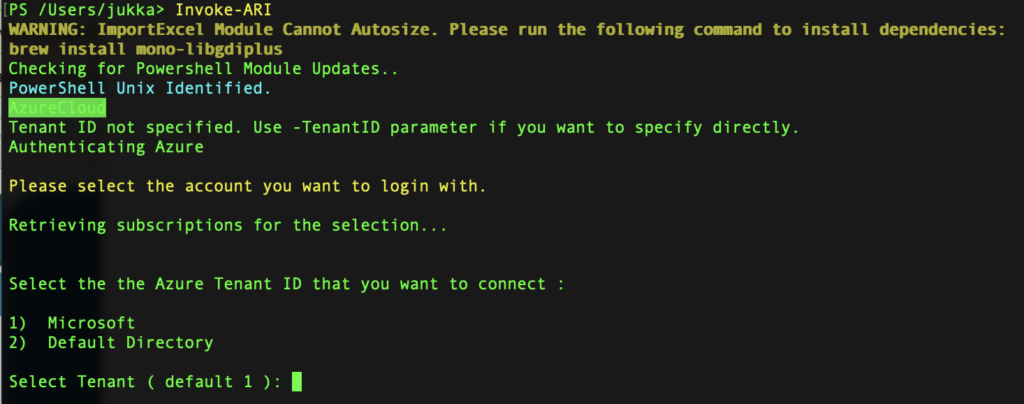
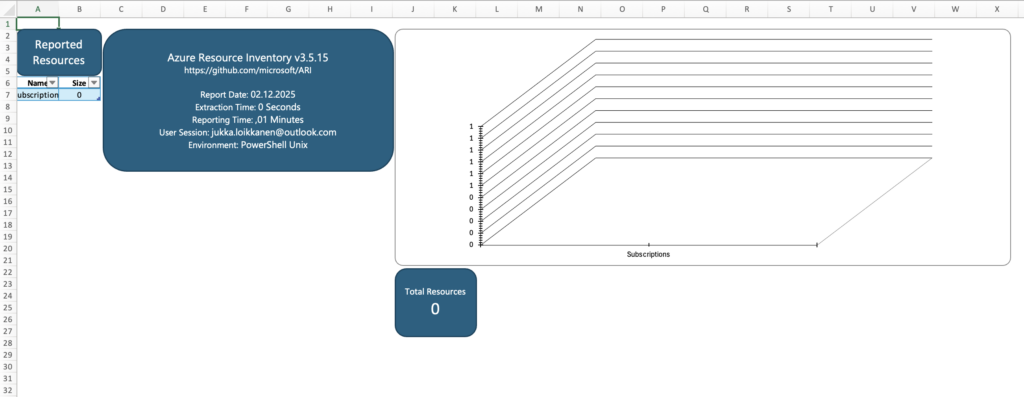
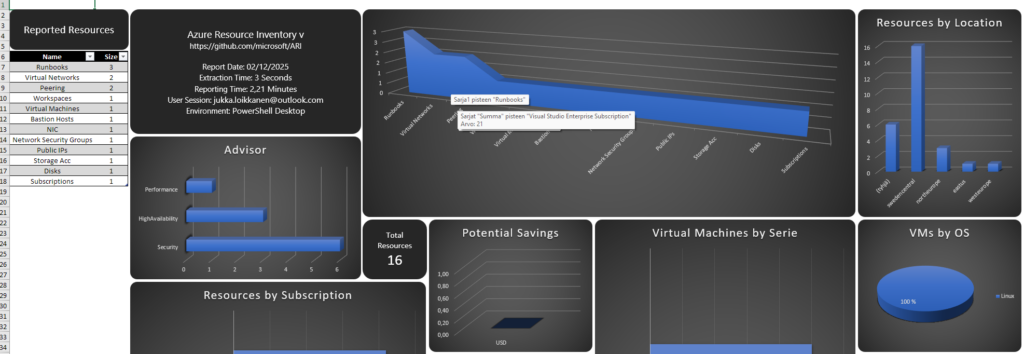
After selecting the Tenant, ARI goes to work and, after a couple of minutes, it generates an Excel sheet with its findings. Even though it tells you that runtime in this case was 2,61 minutes it took quite a bit longer.


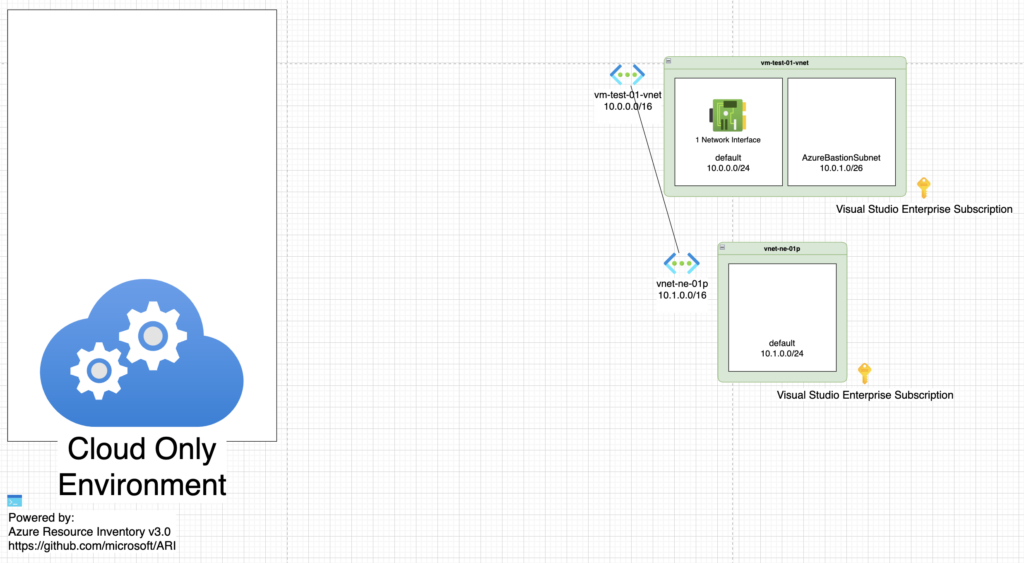
Report also showed my Azure environment which unfortunately is not extensive at all. Looking into report ARI generates, it is really comprehensive listing different resources and their settings on respective tabs. You’ll also get architectural diagrams to look into. Again, the output wasn’t particularly impressive due to the limited scope of my environment. Really good add-on even though.

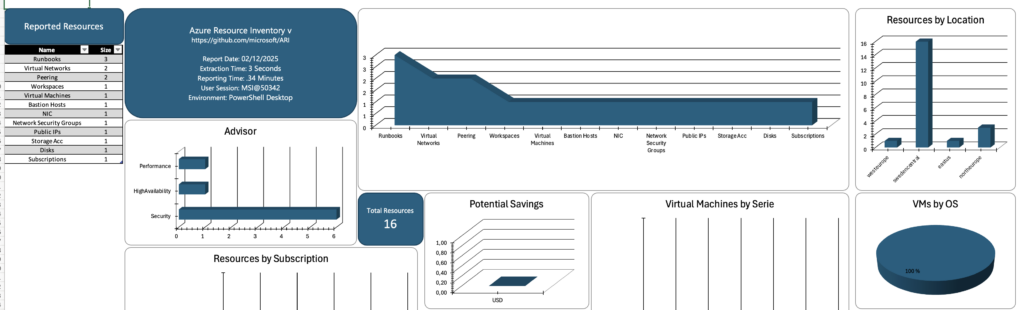
On Windows, the inventory report is identical, but the graphics appear slightly better. Unlike MacOS, where columns need manual resizing, ImportExcel automatically handles this on Windows. Otherwise I didn’t notice any differences in how ARI works.
I still need to test this in a bigger environment as well. So far, it seems be really good option for documenting Azure environments.
Customization possibilities
By default ARI will be performed on all subscriptions in the Tenant, it doesn’t include tags, it collects Azure Advisor data etc. There is, of course, possibility to do some customization which is well documented in ARI GitHub under ‘3) Parameters’ section. I wanted to highlight some key features here, but look into complete table should you need to do something more.
- To run in a debug mode use -debug
- If you want to include resource tags use -IncludeTags
- To inventory only specific subscription use -SubscriptionID <ID>
- To inventory all subscriptions under certain Management Group use -ManagementGroup <ID>
- If you don’t need charts use -Lite to exclude chart creation and to only use Import-Excel module
- If you need to have Draw.IO diagram use -Diagram to do so or if there is no need for diagrams at all use -SkipDiagram to skip the creation
- To skip Azure Advisor data use -SkipAdvisory
- To include Security Center Data use -SecurityCenter
For example, to inventory all subscriptions, include tags and Security Center Data, and skip chart creation, following command can be used:

As we check documentation after running this command it can be seen that it indeed included tab showing Security Center Data and every resource now have ‘Tag Name‘ and ‘Tag Value‘ column.


Automating Azure Resource Inventory with Automation Account
It is helpful to manually run ARI every now and then but what if you wanted to automate it to run on a schedule? For example weekly reports could be really helpful and this can be achieved by using Automation Account and Storage Account. There is a really helpful tutorial on setting everything up in Azure in ARI GitHub repo under Automation. Check that as it guides you through the setup showing how you should set up RBAC, what modules to include in Automation Account etc.
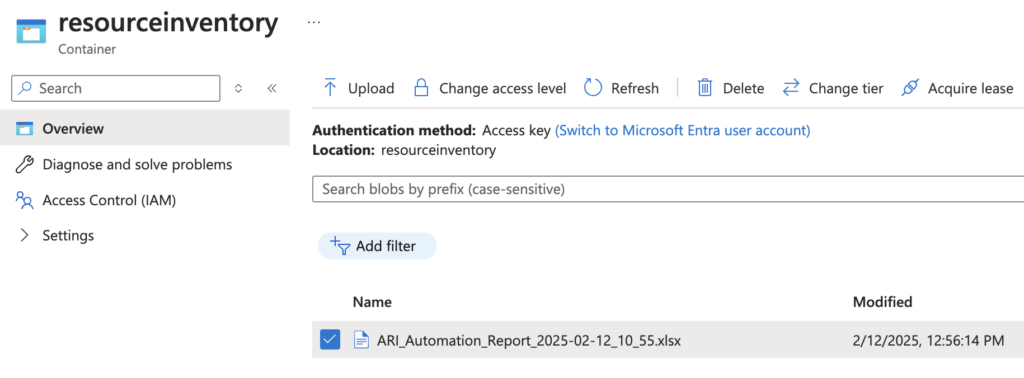
After everything is set up you can download your report from a Storage blob. Based on my tests, the output was identical to the report I generated on my own machine. You won’t be able to generate diagrams when using Automation Account. If you need to have those then running ARI from your own machine is the option.
To schedule automation to run every Sunday, we can do the following. Go to Automation Account and select Shared Resources -> Schedules and click ‘Add a schedule‘.
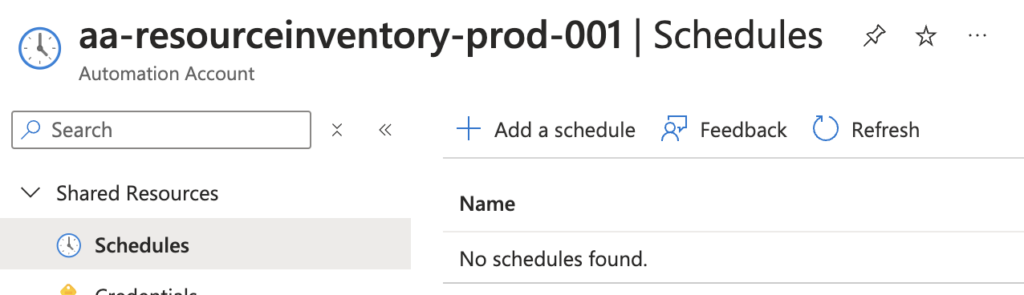
Fill in the necessary fields and determine how often you want the automation to be ran. Then click ‘Create‘ and newly created schedule should pop up in the list.

Next we need to link runbook into our schedule. To do this navigate to Process Automation -> Runbooks -> <Your runbook>. Here you need to click ‘Schedules‘ -> ‘Add schedule‘ and then link your schedule.
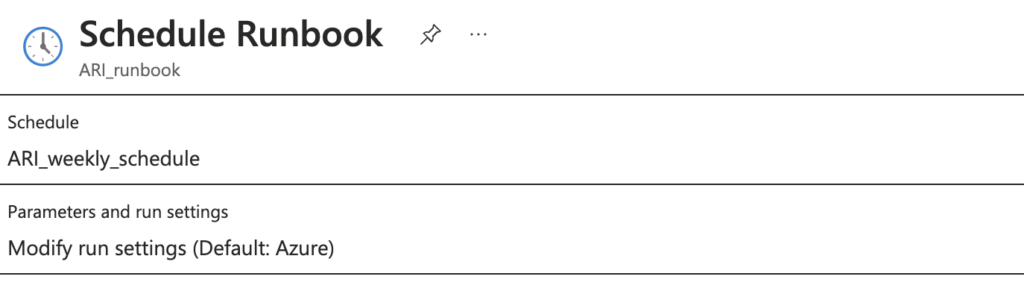
Hitting ‘Ok‘ will save the setup and runbook will run according to schedule. So weekly document automation achieved!
Conclusions
As stated in the beginning I have used Cloudockit to create documentation about Azure environments in the past. Now that I have looked into Azure Resource Inventory I would have hard time to suggest someone using Cloudockit over it. Documentation that ARI produces is pretty comprehensive and as it costs nothing quality-price-ratio is really good. Cloudockit of course provides for example more customization in reports it produces, enables change tracking and allows documenting only certain workloads.
If you need a detailed and cost-effective way to document your Azure environments, Azure Resource Inventory is an excellent choice to achieve that. While Cloudockit has couple of additional features ARI provides a great solution and is completely free. I’d say that it’s definately worth checking out!
Resources
📌 Azure Resource Inventory GitHub repository
📌 ARI automation guide
📌 Compare ARI with Cloudockit using Cloudockit Free Trial on their website.
📌 https://www.microsoft.com/insidetrack/blog/azure-resource-inventory-helps-manage-operational-efficiency-and-compliance/